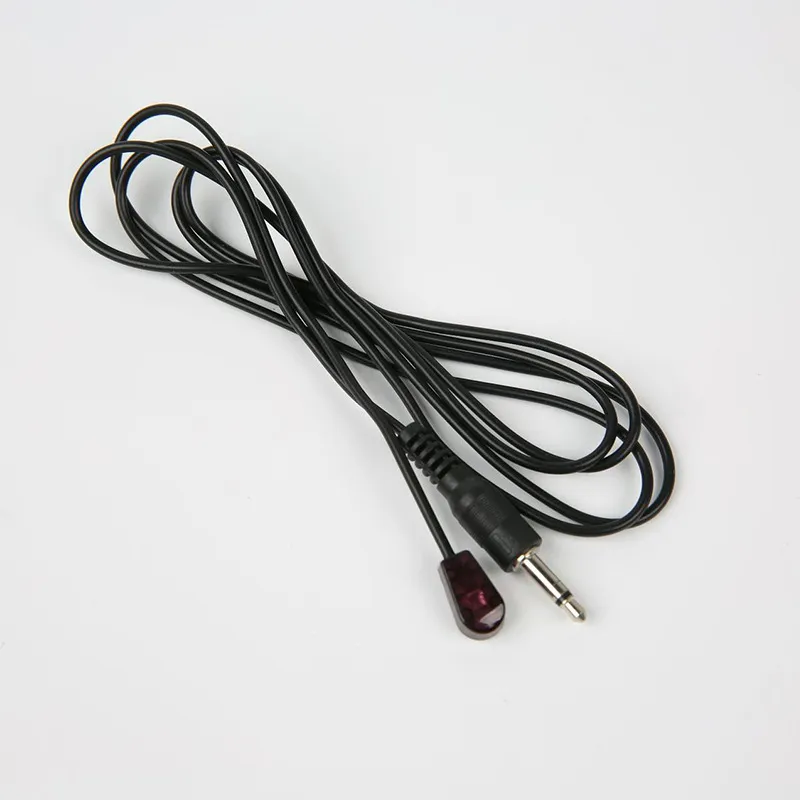
What is a Single Head Infrared Emitter Cable?
A Single Head Infrared Emitter Cable is a specialized device used to transmit infrared signals from a source, such as a remote control, to a receiver, typically a piece of electronic equipment like a TV or stereo system. It consists of a single emitter head connected to a cable, which can be easily positioned to ensure the infrared signal is accurately received. This type of cable is particularly useful in situations where direct line-of-sight between the remote control and the device is obstructed, such as when the device is placed inside a cabinet or behind a wall.
Why Use a Single Head Infrared Emitter Cable?
Using a Single Head Infrared Emitter Cable offers several advantages. Firstly, it allows for greater flexibility in the placement of electronic devices, as the emitter can be positioned to ensure optimal signal reception. This is especially beneficial in home theater setups or smart home systems where devices may be hidden or located in hard-to-reach places. Additionally, it can help reduce clutter by eliminating the need for multiple remote controls or complex wiring systems. The cable is also easy to install and requires minimal maintenance, making it a cost-effective solution for enhancing the functionality of your electronic devices.
How to Install a Single Head Infrared Emitter Cable: Step by Step
Step 1: Gather Your Materials
- Single Head Infrared Emitter Cable
- Remote control or IR source
- Electronic device with IR receiver
- Adhesive tape or mounting clips (optional)
Step 2: Position the Emitter Head
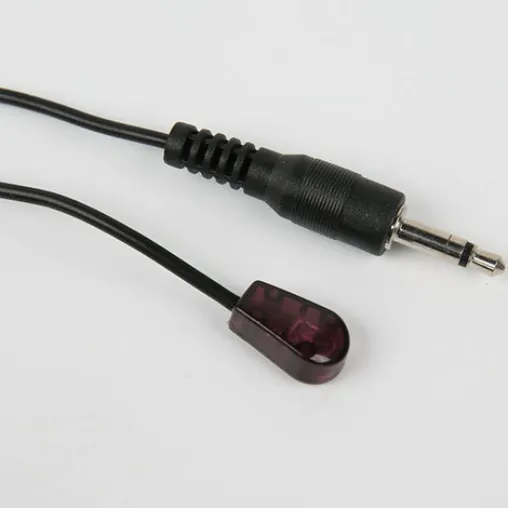
Identify the IR receiver on your electronic device. This is usually a small, dark window on the front or side of the device. Position the emitter head so that it is directly facing the IR receiver, ensuring there are no obstructions between them.
Step 3: Connect the Cable
Connect the other end of the cable to the IR output port on your remote control or IR source. Make sure the connection is secure to prevent signal loss.
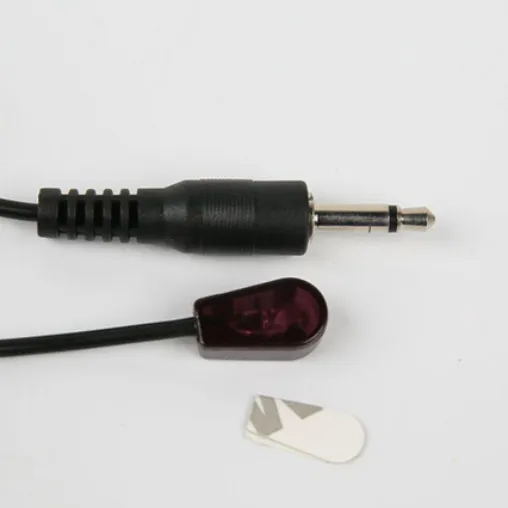
Step 4: Secure the Cable
Use adhesive tape or mounting clips to secure the cable in place, if necessary. This will help prevent the cable from moving and ensure consistent signal transmission.
Step 5: Test the Setup
Turn on your electronic device and use the remote control to test the IR signal. If the device responds correctly, the installation is complete. If not, double-check the positioning of the emitter head and the cable connections.
Can a Single Head Infrared Emitter Cable Be Used with Multiple Devices?
While a Single Head Infrared Emitter Cable is designed to work with one device at a time, it is possible to use multiple emitter cables in conjunction with an IR distribution system to control several devices simultaneously. This setup requires an IR repeater or splitter, which can distribute the IR signal from a single remote control to multiple emitter cables. However, for most home setups, a single head emitter cable is sufficient for controlling one device effectively.
Does a Single Head Infrared Emitter Cable Require Maintenance?
Maintenance for a Single Head Infrared Emitter Cable is minimal. The cable is durable and designed to withstand regular use. However, it is important to periodically check the positioning of the emitter head to ensure it remains aligned with the IR receiver. Additionally, inspect the cable for any signs of wear or damage, such as fraying or loose connections, and replace it if necessary. Keeping the emitter head clean from dust and debris can also help maintain optimal signal transmission.
 Professional production of infrared receivers for the first 20 years!